Samsung DeX is a desktop-like environment available in Samsung’s flagship phones and tablets. I don’t want to make this sound like ads for DeX, but it was one of the main reasons while I was deciding to switch from iPhone to a Note 10+ about a year and a half ago. With an external monitor, you can turn your phone into a desktop computer of some sort, or you can have more like a laptop experience on your phone using a few alternatives. I recently turned an old Chromebook lying around to my DeX laptop, my new ChromeDeX.
It’s been a while since my last post. I want to write more frequently, but I always find reasons to procrastinate. Anyway, I finally found some time to get back to my blog, and this time I wanted to write about my new personal mobile productivity experience. It is based on Samsung’s Desktop Experience (DeX) on a Chromebook. So, let’s get into the details.
What is DeX
Let’s start with how Samsung defines DeX:
Samsung DeX is a platform built into the latest Galaxy phone and tablets, allowing you to power a desktop-like experience on an external display.
That sounds great, but actually there is more in the details. Let’s talk about how you can “activate” DeX, for instance. Nowadays, there are a handful of different ways:
- Activate DeX mode on tablets directly - with a keyboard case this works wonders
- Connect to an external monitor - with a USB-C Hub this is the ultimate desktop experience with DeX
- Wireless DeX to a TV screen
- Connect to a Lapdock - arguably ultimate laptop experience with DeX
- Connect to a Mac or Windows PC and use the DeX application
I have Termux installed on my Note 10+, and with emacs and org-mode, I almost have a full development environment for my pet projects on my phone. I have a fairly nice desktop environment with an ultra-wide monitor, mechanical keyboard, etc. on my desk that I share between my work laptop and DeX. This all sounds great, and it is, most of the time. The problem is, mobility or more like the lack of it.
I tried using a bluetooth keyboard directly with the phone screen, but the screen is simply too small for sessions longer than a few minutes. Although Note 10+ has one of the largest phone screens around, it is still way too small to pretend to be a monitor or laptop screen. My eyes start hurting trying to focus on text in Termux too soon to get anything done. I tried to use the wireless DeX on the TV, but that also doesn’t work mostly, as we want to use the TV for other less serious purposes, like watching a TV show.
Let’s be clear. What I have been missing is a mobile (more a like a laptop) setup that I can carry around with me. Options are the last two above: Lapdock or DeX app on PC/Mac.
The idea of Lapdock is great. Think about a shell laptop without the brains. It provides a monitor, a touch-pad, a keyboard, battery and ports, while an external device (such as a DeX capable phone/tablet, or a Raspberry Pi, etc) provides the brains. There are only a few implementations of Lapdocks yet, including multiple versions of NexDock which you can buy for around $250-$300. However, I keep hearing bad stories about the quality of the touch-pad on these. Besides, even if you are fine with the touch-pad issues, it is still not easy to get your hands on one as they are back-ordered typically. I’ll probably wait a bit more on this, to give lapdocks some more time to mature. You never know, maybe even Samsung will decide to deliver a good one at some point.
The next best option is to use a Mac or Windows PC with the DeX application. I have a Mac for work, but I don’t want to use that for personal projects. I don’t have any other Mac or Windows laptop available to me at this time, and I don’t want to buy one just for DeX.
Luckily, I have an old Chromebook lying around. So, I thought maybe I can get it to work with DeX.
What about a Chromebook?
Chromebooks are praised for their great keyboards and touch-pads - probably much better than a Lapdock - at a typically very low price level. I have a Toshiba Chromebook 2 (Swanky) from 2014, no longer able to satisfy the online schooling requirements for my kids. I tried installing Linux a few months ago, but the 16 GB or so disk size was too small for my needs. As a result, it was lying around idly for most of the time.
I thought about using the Chromebook with DeX before, but turning it to a Lapdock was too much of an electronics challenge (for me, at least). Then, I checked to see if there are any Chrome or Linux DeX apps similar to Mac/Windows, but that was a dead end as well. There is a solution by Keith Myers, but it requires multiple pieces of hardware (USB-C to HDMI dock, HDMI terminator, etc) and even then it doesn’t work fully.
Then, I thought maybe it is possible to install Windows to my Chromebook. It would probably be dead-slow with Windows with so little resources on the Chromebook, but maybe I could make it work if I don’t install anything other than the DeX app.
Windows on a Chromebook?
It turns out it is actually quite possible to install Windows on Chromebooks, at least to some of them. There is a whole subreddit - r/chrultrabook - focusing on converting Chromebooks to Windows or Linux. This post explains which Chromebook devices are supported and how, in detail. Fortunately, my Chromebook was in the list of supported devices.
I didn’t know how well Windows would fare on my limited resource Chromebook, but I was thinking that the DeX application on Windows should work fine. Samsung and Microsoft partnered in the recent years to deliver a better Android + Windows experience to compete with the close-to-perfect macOS + iOS experience. So, it should work fine, I thought.
How do we install Windows to a Chromebook, then? MrChromebox’s Reddit post clearly identifies the steps to take. I was also able to find specific instructions for my Chromebook (Swanky) on coolstar.org.
Steps to ChromeDeX
Let’s go through the steps together and also talk about some of the problems and solutions I had to deal with during the process.
1- Developer Mode and flashing UEFI firmware
This is probably the scariest of the steps. The specific steps for each device might be slightly different, but typically this involves opening the back of the Chromebook and removing a Write Protect Screw. Then we flash MrChromebox’s UEFI firmware. Just follow the detailed instructions on coolstar.org.
I didn’t really have any issues in this step, as I had gone through this once before for installing Linux. Even removing the Write Protect Screw was much easier than I had anticipated. Still be careful and make sure that you follow the instructions for your specific Chromebook model to the letter. This is the step where you can brick your Chromebook. You are warned!
When you are done with the UEFI firmware flash, your device is ready to install a new OS, Windows 10 in this case.
2- Prepare a windows installation USB drive
Next step is to prepare a USB drive as a Windows 10 installation media. At first, I thought I could simply download the Windows 10 installer ISO image from the Microsoft website and just write to a USB drive using the EtchDroid application directly on my phone. Seemed to work fine, until I get a “no device driver found” error during the Windows 10 setup. This stalled me for a few hours as I tried many things suggested by people having a similar issues. Then I switched back to the recommended method: using another Windows computer to visit this link and install and use the media creation tool provided there. After doing this, everything worked great.
3- Get a USB keyboard and mouse ready
This is just needed during installation, as until we are done with the full installation followed by device driver installation, the laptop keyboard and touch-pad is not fully functional. In my case, the keyboard mostly worked fine, but I still needed a mouse in a few places during the setup.
4- Install Windows
This is a straight forward step if you used another Windows computer to create the installation media, as explained above. Simply put the USB drive into one of the USB ports on your Chromebook, start the computer, then choose the Boot Option as the drive. When Windows 10 setup starts, just follow through the steps.
5- Install device drivers
When you are done with the installation, Windows will not see a few important devices, such as the touchpad and sound device. You will also need a few other drivers to help it work more efficiently. All needed files are available from coolstar.org. Just download the files and install one at a time, following the steps in the wizards.
6- Compress Installation
As the Chromebooks don’t have much disk space, it was a delight that coolstar.org also provided instructions for compressing the installation after we are done.
7- Install DeX Application
At this point we have a working Windows 10 on a Chromebook with little space left on the disk. In my case, I had around 4 GB or so left. For me, it was also really slow. The one thing that we still need to install is the DeX application. At this point head to DeX website, download and install the Windows version of the application. Once you have installed it, you won’t be using Windows at all other than directly going into the DeX application full screen, so speed will no longer be much of an issue.
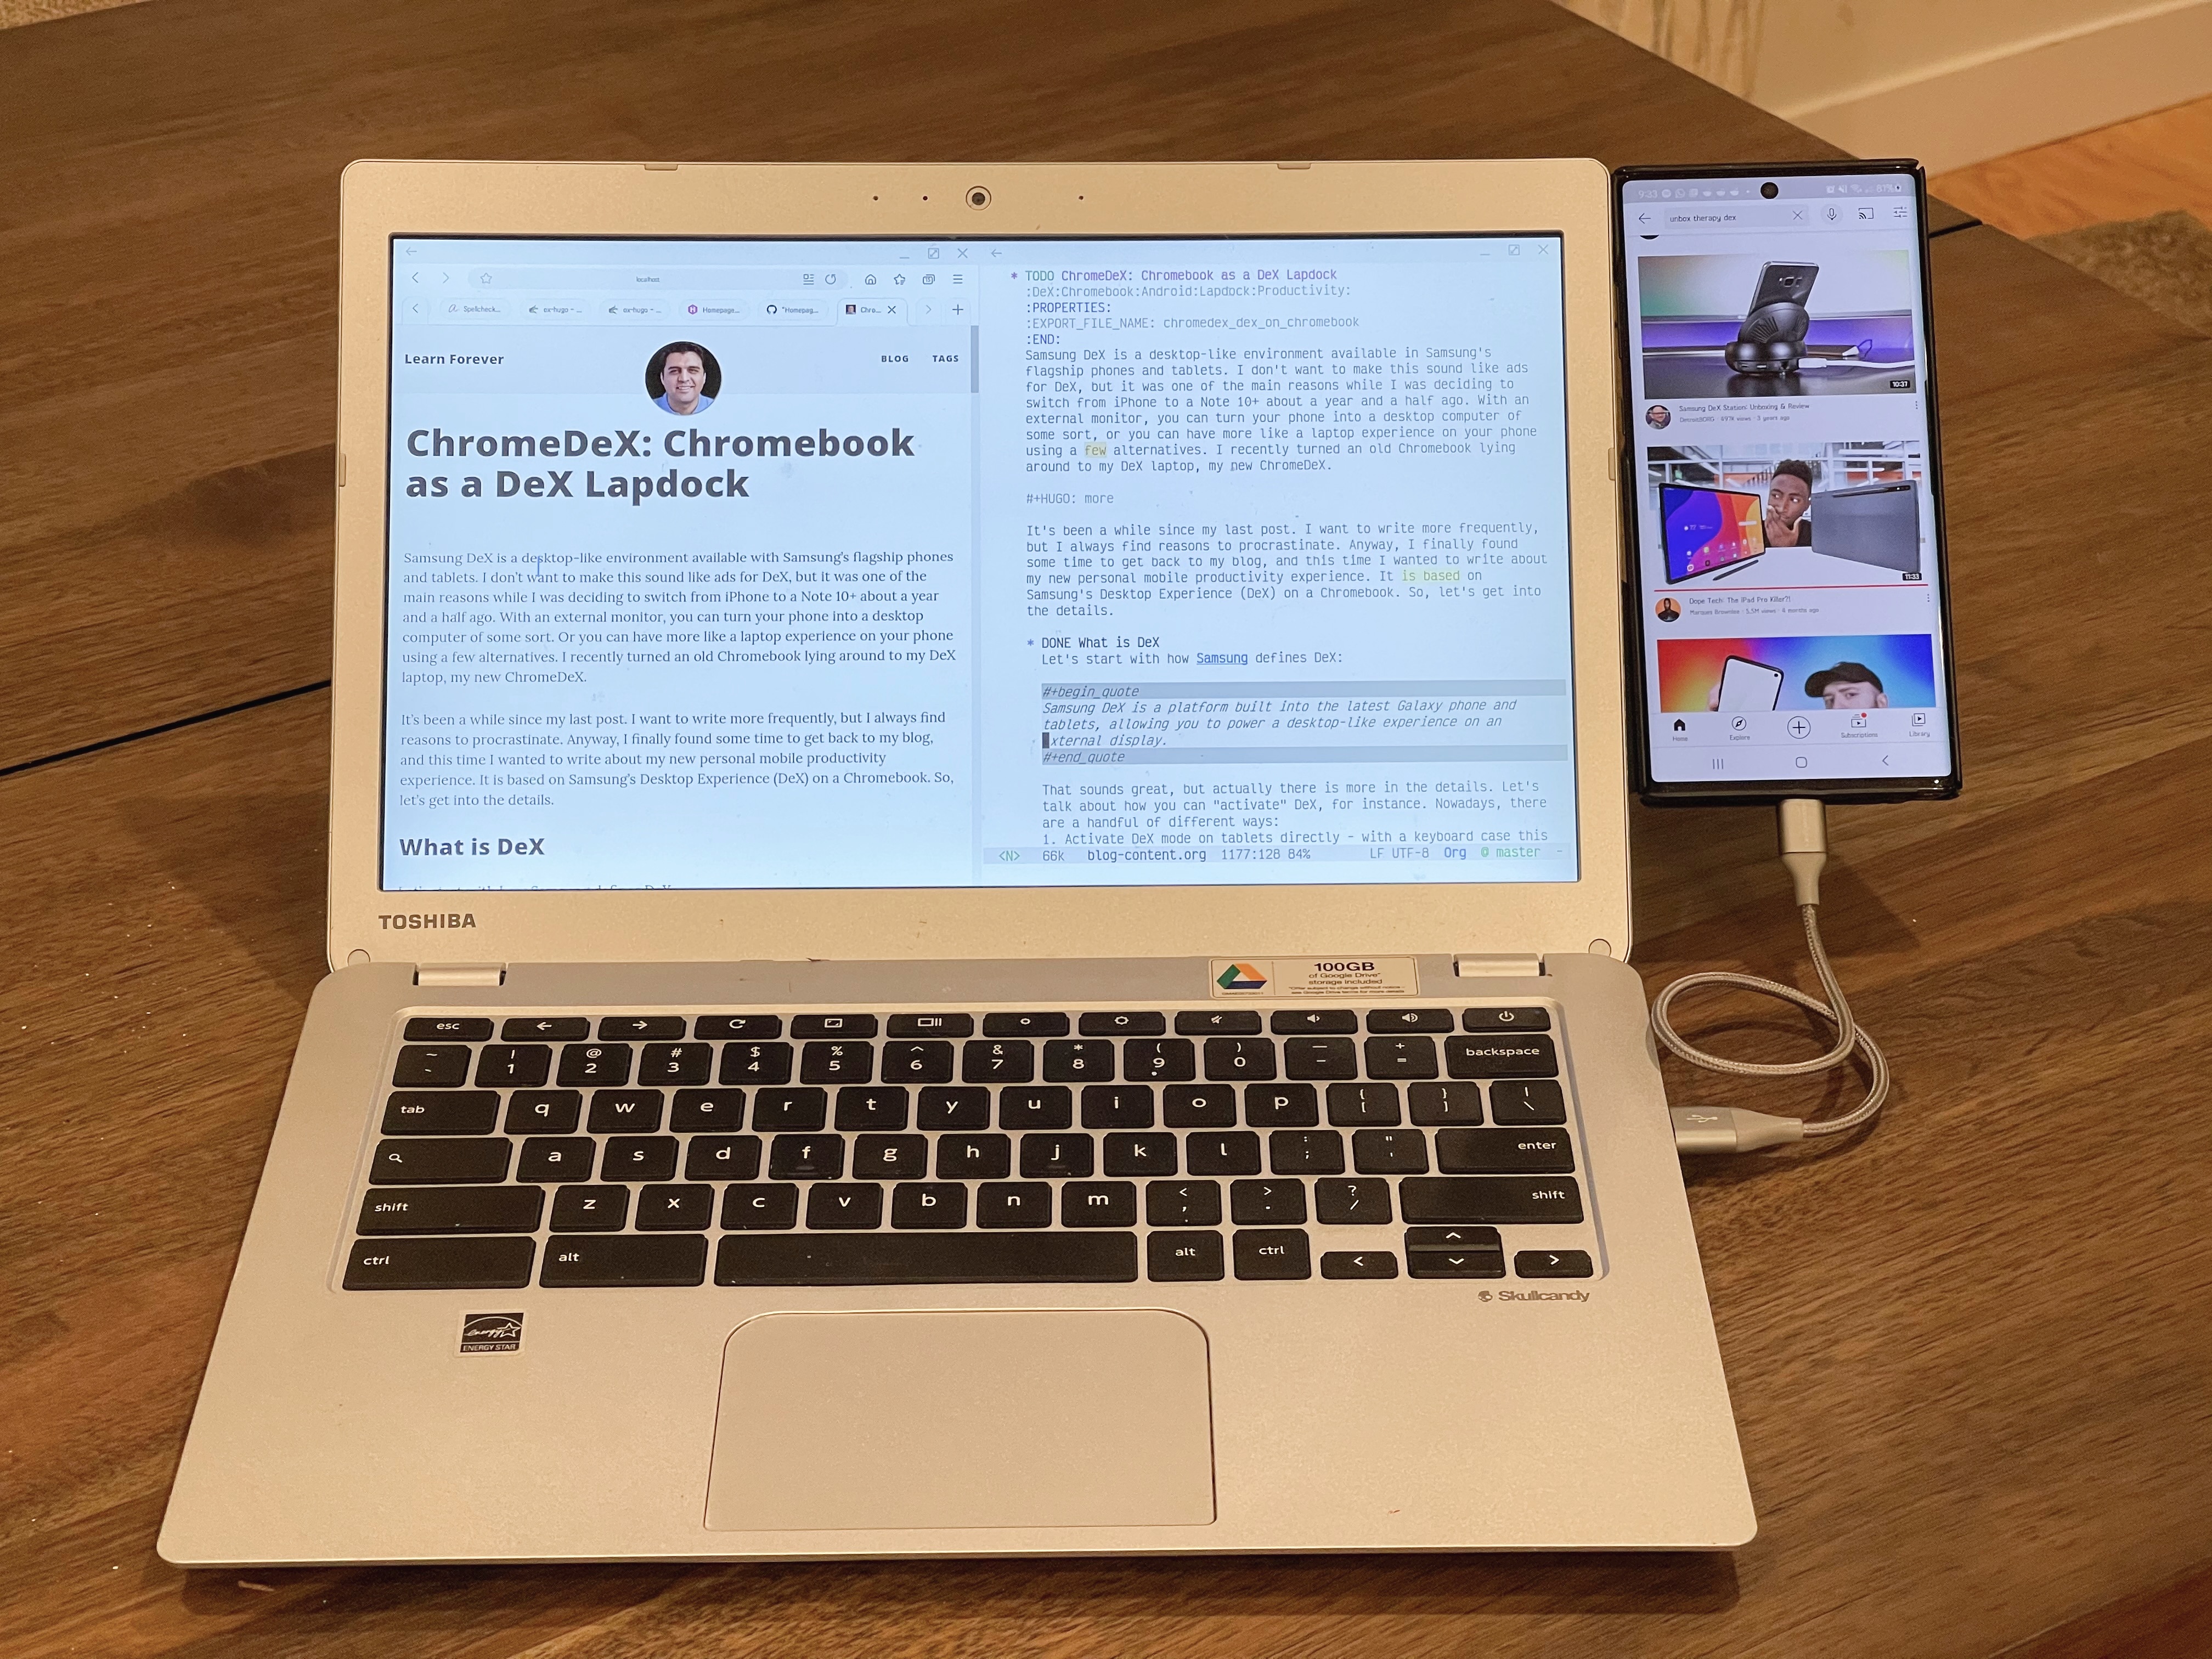
With this final step you are ready to go. Now you can connect your phone to your Windows Chromebook with a USB-A to USB-C cable and start using your ChromeDeX!
Final notes
I have been using my ChromeDeX for the last two days or so, and I have written most of this post on it (using Emacs org-mode and Hugo on Termux, more on this setup in a later post). It is not the fastest DeX experience, but it is perfectly usable for me for now. I really like having the freedom to have my DeX environment away from my desk.
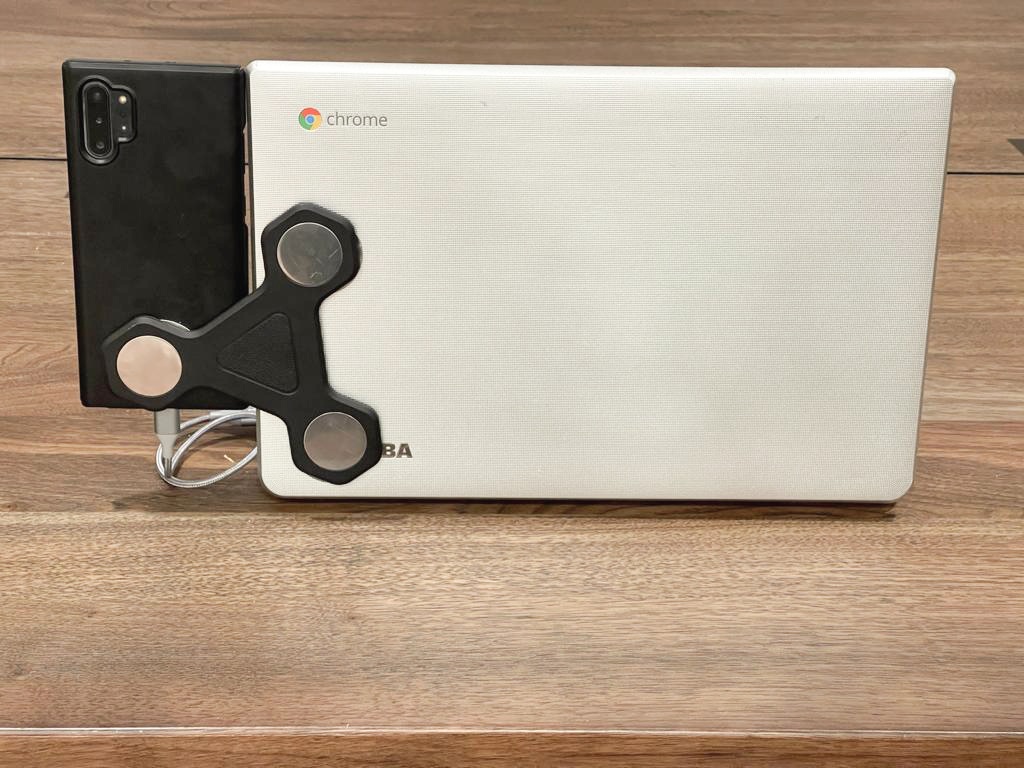
A small improvement to the setup is using a magnetic phone mount (like this) and a short cable (like this). Here is a picture of my cute “new” ChromeDeX:
and another showing the backside: